You never have to worry about finding an available EV charging station or waiting in line to power up your vehicle. Installing an electric vehicle (EV) charger at home can bring this convenience straight to your doorstep.
As electric mobility becomes the future of transportation, home EV chargers are no longer a luxury—they’re a necessity. With the ability to charge overnight and at lower costs compared to public charging stations, you can get a smooth EV ownership experience.
Wake up every morning with a fully charged vehicle, ready to tackle your day. Whether you’re a daily commuter or a road trip enthusiast, having a home charging station tailored to your needs saves time, money, and effort.
Follow this comprehensive guide to learn how to install an EV charger at home, from planning to completion.
Step 1: Assessing Feasibility
Before getting into installation, determine if your home is equipped for an EV charger. Check your electrical system’s capacity and review local regulations. Some municipalities may require permits or inspections before proceeding. Consulting a licensed electrician ensures your setup is safe and compliant with local standards.
Step 2: Selecting the Right EV Charger
Choosing the right charger is critical to your charging experience. Here’s a quick breakdown of charger types:
- Level 1 Chargers: Plug into standard 120V outlets; suitable for slow, overnight charging for low mileage.
- Level 2 Chargers: Require a 240V outlet; ideal for faster charging and higher daily mileage.
- DC Fast Chargers: Rarely installed at homes due to high costs but deliver ultra-fast charging speeds for public stations.
Consider your daily driving habits, vehicle requirements, and budget to select a charger that fits your lifestyle.
Step 3: Planning the Installation
A well-planned installation ensures long-term convenience and safety. Key considerations include:
- Location: Choose a spot close to your electrical panel to minimize additional wiring. Ensure the location is dry, well-ventilated, and protected from extreme weather.
- Accessibility: The charger should be easy to access for daily use. Think about cable management to avoid tripping hazards.
- Future-Proofing: If you plan to upgrade or add more EVs in the future, select a location that can accommodate additional chargers.
Step 4: Installation Process
You must choose a professional installation by experts as it’s safer for you. Here’s what the process entails:
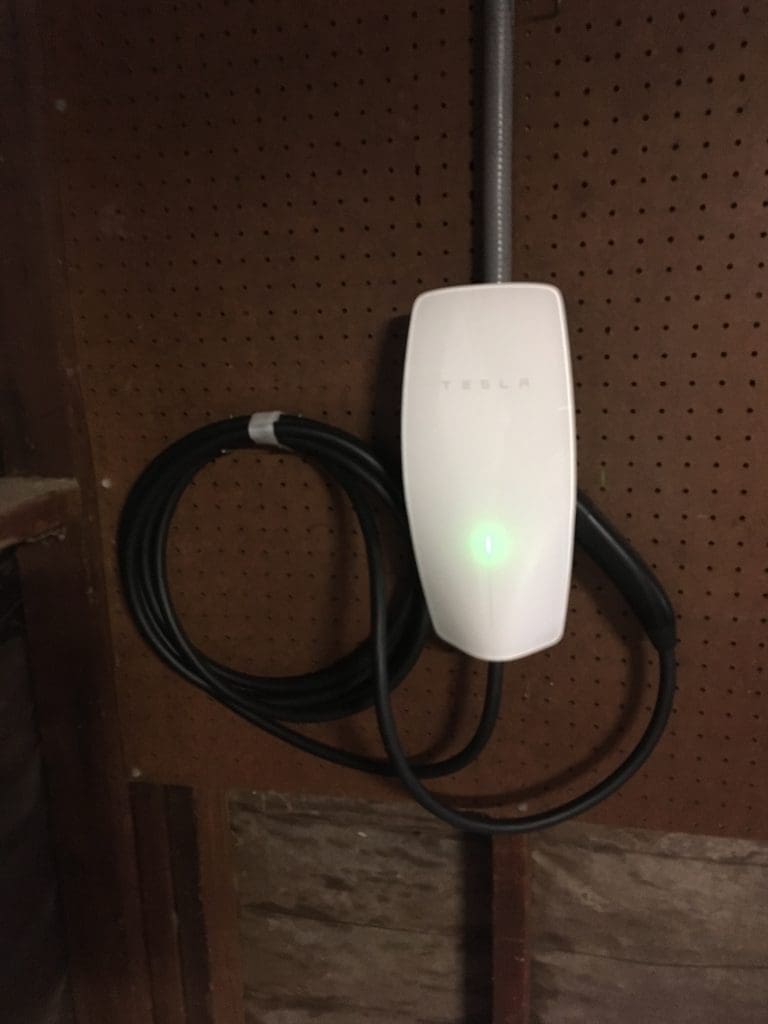
- Mounting the Charger: Secure the charger to a wall or pedestal, ensuring it’s stable and level.
- Electrical Connections: Connect the charger to the electrical panel following the manufacturer’s wiring diagram. Licensed electricians handle this to avoid safety risks.
- Testing: Once installed, test the system with your EV to ensure it charges properly.
Step 5: Understanding Costs
Installing a home EV charger involves three primary costs:
- Charger Unit: Prices change based on the charger type, brand, and features.
- Installation Fees: Licensed electricians typically charge based on complexity, location, and any additional wiring or upgrades required.
- Upgrades: Older homes may need electrical panel enhancements or new wiring to support the additional load.
Step 6: Post-Installation Maintenance
Maintaining your EV charger ensures safety and longevity. Regularly inspect the unit for wear and tear and clean it to prevent dirt buildup. Software updates may be required for advanced chargers to perform optimally. Don’t forget to schedule periodic checks with an electrician to make sure everything is in working order.
Benefits of Installing a Home EV Charger
- Convenience: Charge anytime, without leaving your home.
- Cost Savings: Save on electricity compared to public charging fees.
- Sustainability: Use renewable energy sources, if available, to charge your EV.
- Property Value: Homes with EV chargers attract environmentally conscious buyers.
Install An EV Charger in Your Home Today!
Installing an EV charger at home is an investment in convenience, efficiency, and sustainability. By following this guide, you can enjoy the benefits of having a personalized charging solution tailored to your needs. Start your journey today and experience the true freedom of EV ownership with Left Coast Electric!